3D Beach Nails: A Step-by-Step Guide
3D Beach Nails: A Step-by-Step Guide
Introduction
Summer is the time for fun in the sun, and what better way to show off your beachy style than with a set of 3D beach nails? These nails are the perfect way to add a touch of whimsy and personality to your beachwear, and they're sure to turn heads wherever you go.

In this step-by-step guide, we'll show you how to create your own set of 3D beach nails. We'll provide you with all the instructions you need, from choosing the right colors and materials to applying the nails. So whether you're a nail art novice or a seasoned pro, you'll be able to create a stunning set of 3D beach nails that will have everyone asking where you got them.
What You'll Need
Before you get started, gather all of the supplies you'll need:

- Acrylic nails in various colors
- Adhesive
- A nail file
- A buffer
- A top coat
- A toothpick
- A small paintbrush
- Seashells, shells, or other beach-themed embellishments
Step 1: Prepare Your Nails
The first step is to prepare your nails for the application of acrylic nails. To do this, you'll need to:
- Wash your hands and nails with soap and water.
- File your nails into the desired shape.
- Buff your nails to remove any shine.
- Apply a base coat to your nails.
Step 2: Apply the Acrylic Nails
Once your nails are prepared, you can start applying the acrylic nails. To do this, you'll need to:
- Choose the acrylic nails that you want to use.
- Apply a small amount of adhesive to the back of each nail.
- Press the acrylic nail onto your natural nail.
- Hold the nail in place for a few seconds until the adhesive dries.
Step 3: Add the Embellishments
Now that the acrylic nails are applied, you can add the embellishments. To do this, you'll need to:
- Choose the embellishments that you want to use.
- Apply a small amount of adhesive to the back of each embellishment.
- Press the embellishment onto the acrylic nail.
- Hold the embellishment in place for a few seconds until the adhesive dries.
Step 4: Seal the Nails
The final step is to seal the nails. To do this, you'll need to:
- Apply a top coat to your nails.
- Allow the top coat to dry completely.
Tips for Creating 3D Beach Nails
Here are a few tips to help you create stunning 3D beach nails:

- Choose colors that complement your skin tone and the beachwear you'll be wearing.
- Use a variety of shapes and sizes of embellishments to create a more interesting look.
- Don't be afraid to experiment with different placement for your embellishments.
- For a more natural look, apply the embellishments to the tips of your nails.
- For a more dramatic look, apply the embellishments to the entire nail.
Troubleshooting
If you're having trouble applying your 3D beach nails, here are a few troubleshooting tips:

- If the acrylic nails are too big, you can file them down to the desired size.
- If the acrylic nails are too small, you can apply a small amount of adhesive to the back of the nail and press it onto your natural nail.
- If the embellishments are not sticking, you can apply a small amount of adhesive to the back of the embellishment and press it onto the acrylic nail.
- If the top coat is not drying, you can try applying a thinner coat or waiting longer for it to dry.
Conclusion
3D beach nails are the perfect way to add a touch of summer fun to your look. With their bright colors and beach-themed embellishments, they're sure to turn heads wherever you go. So what are you waiting for? Get started on your own set of 3D beach nails today!

Keywords: beach nails, 3d nails, summer nails, beach nails tutorial
Summer’s here! Get your beach nails 3D now!
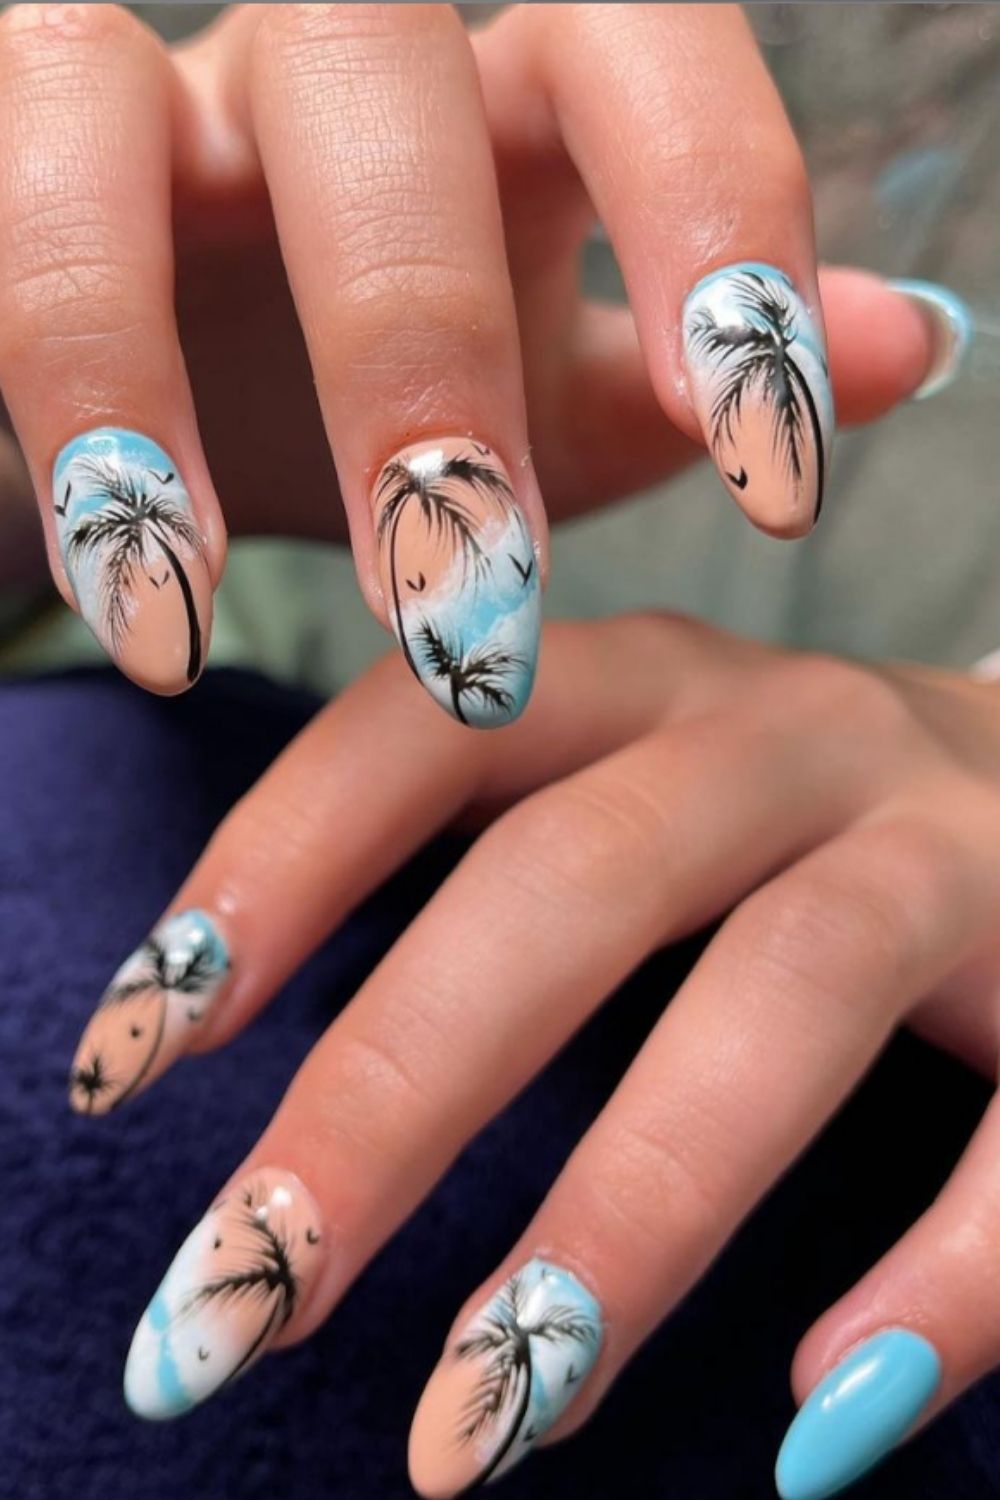
With the sun shining, the waves crashing, and the sand between your toes, it’s time to get your beach nails 3D! Beach nails are all about having fun and expressing your personality. So whether you’re going for a simple and elegant look or something more bold and daring, there’s a beach nail design for you.
What are beach nails?
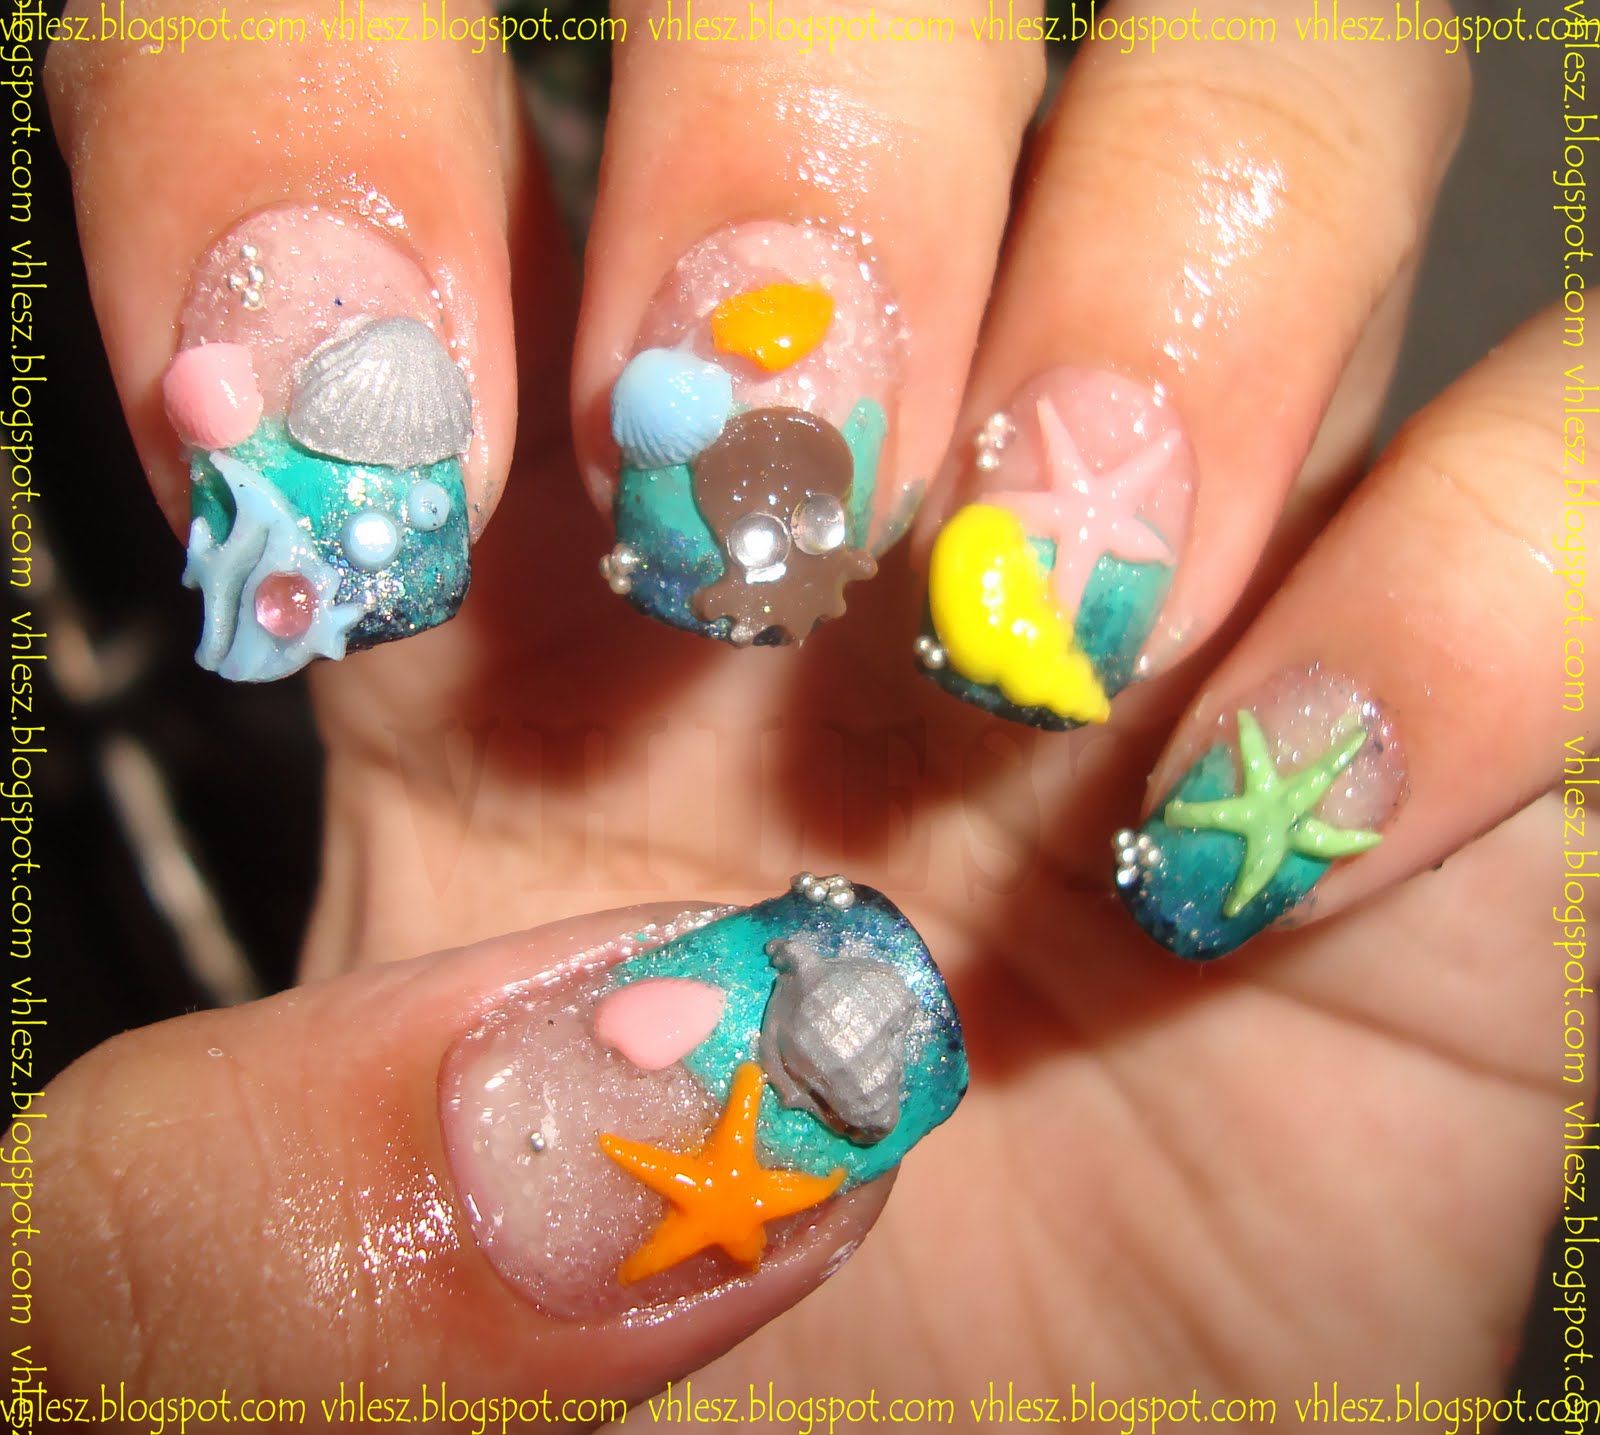
Beach nails are a type of nail art that is inspired by the beach. They typically feature bright colors, fun patterns, and lots of 3D elements. Beach nails are perfect for summer because they’re light, airy, and carefree.
How to get beach nails 3D?
To get beach nails 3D, you’ll need a few supplies:
- A base coat
- A few colors of nail polish in bright, fun colors
- A top coat
- A 3D nail art kit
To create your beach nails 3D, follow these steps:
- Apply a base coat to your nails.
- Choose two or three colors of nail polish to use for your design.
- Paint your nails with the first color of nail polish.
- Use a 3D nail art kit to create your design. You can use stickers, gems, glitter, or anything else you like.
- Paint your nails with the second color of nail polish.
- Finish with a top coat to seal your design.
Beach nails 3D design ideas
There are endless possibilities when it comes to beach nails 3D design ideas. Here are a few of our favorites:
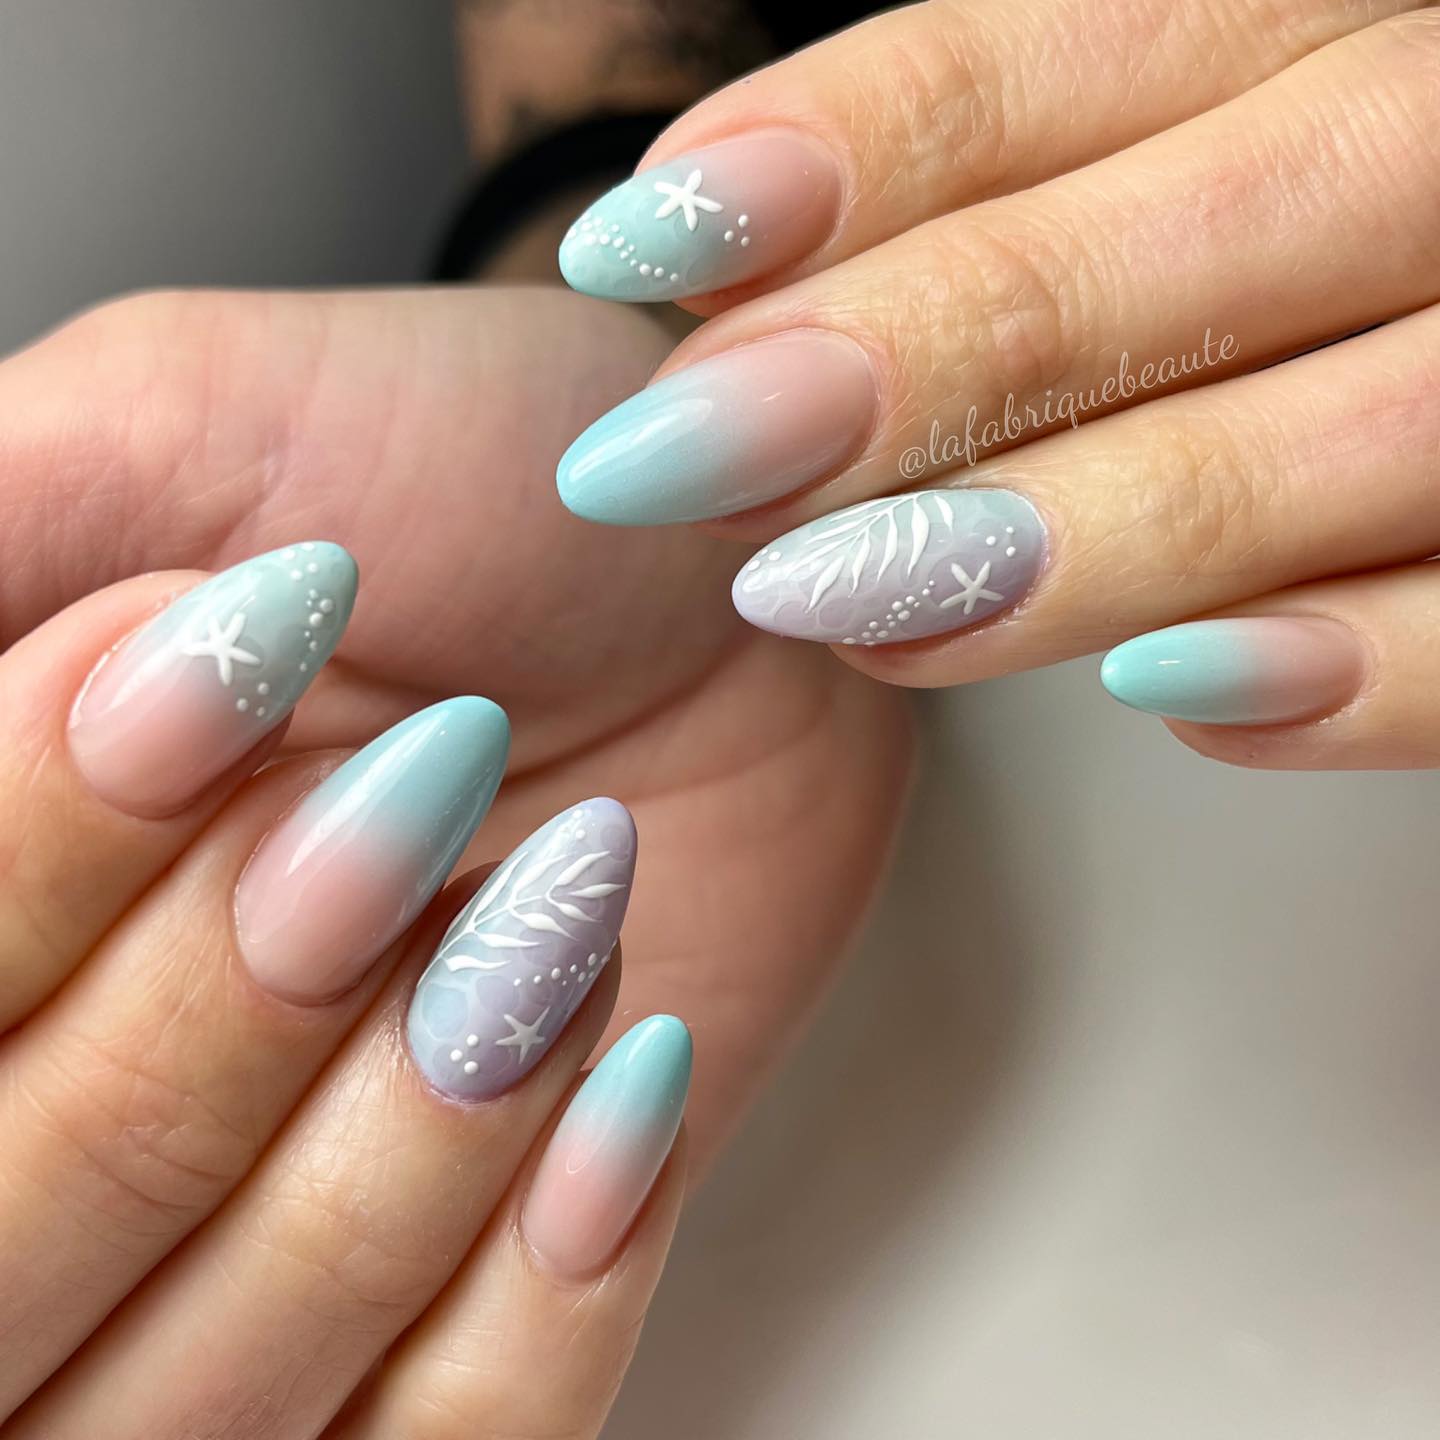
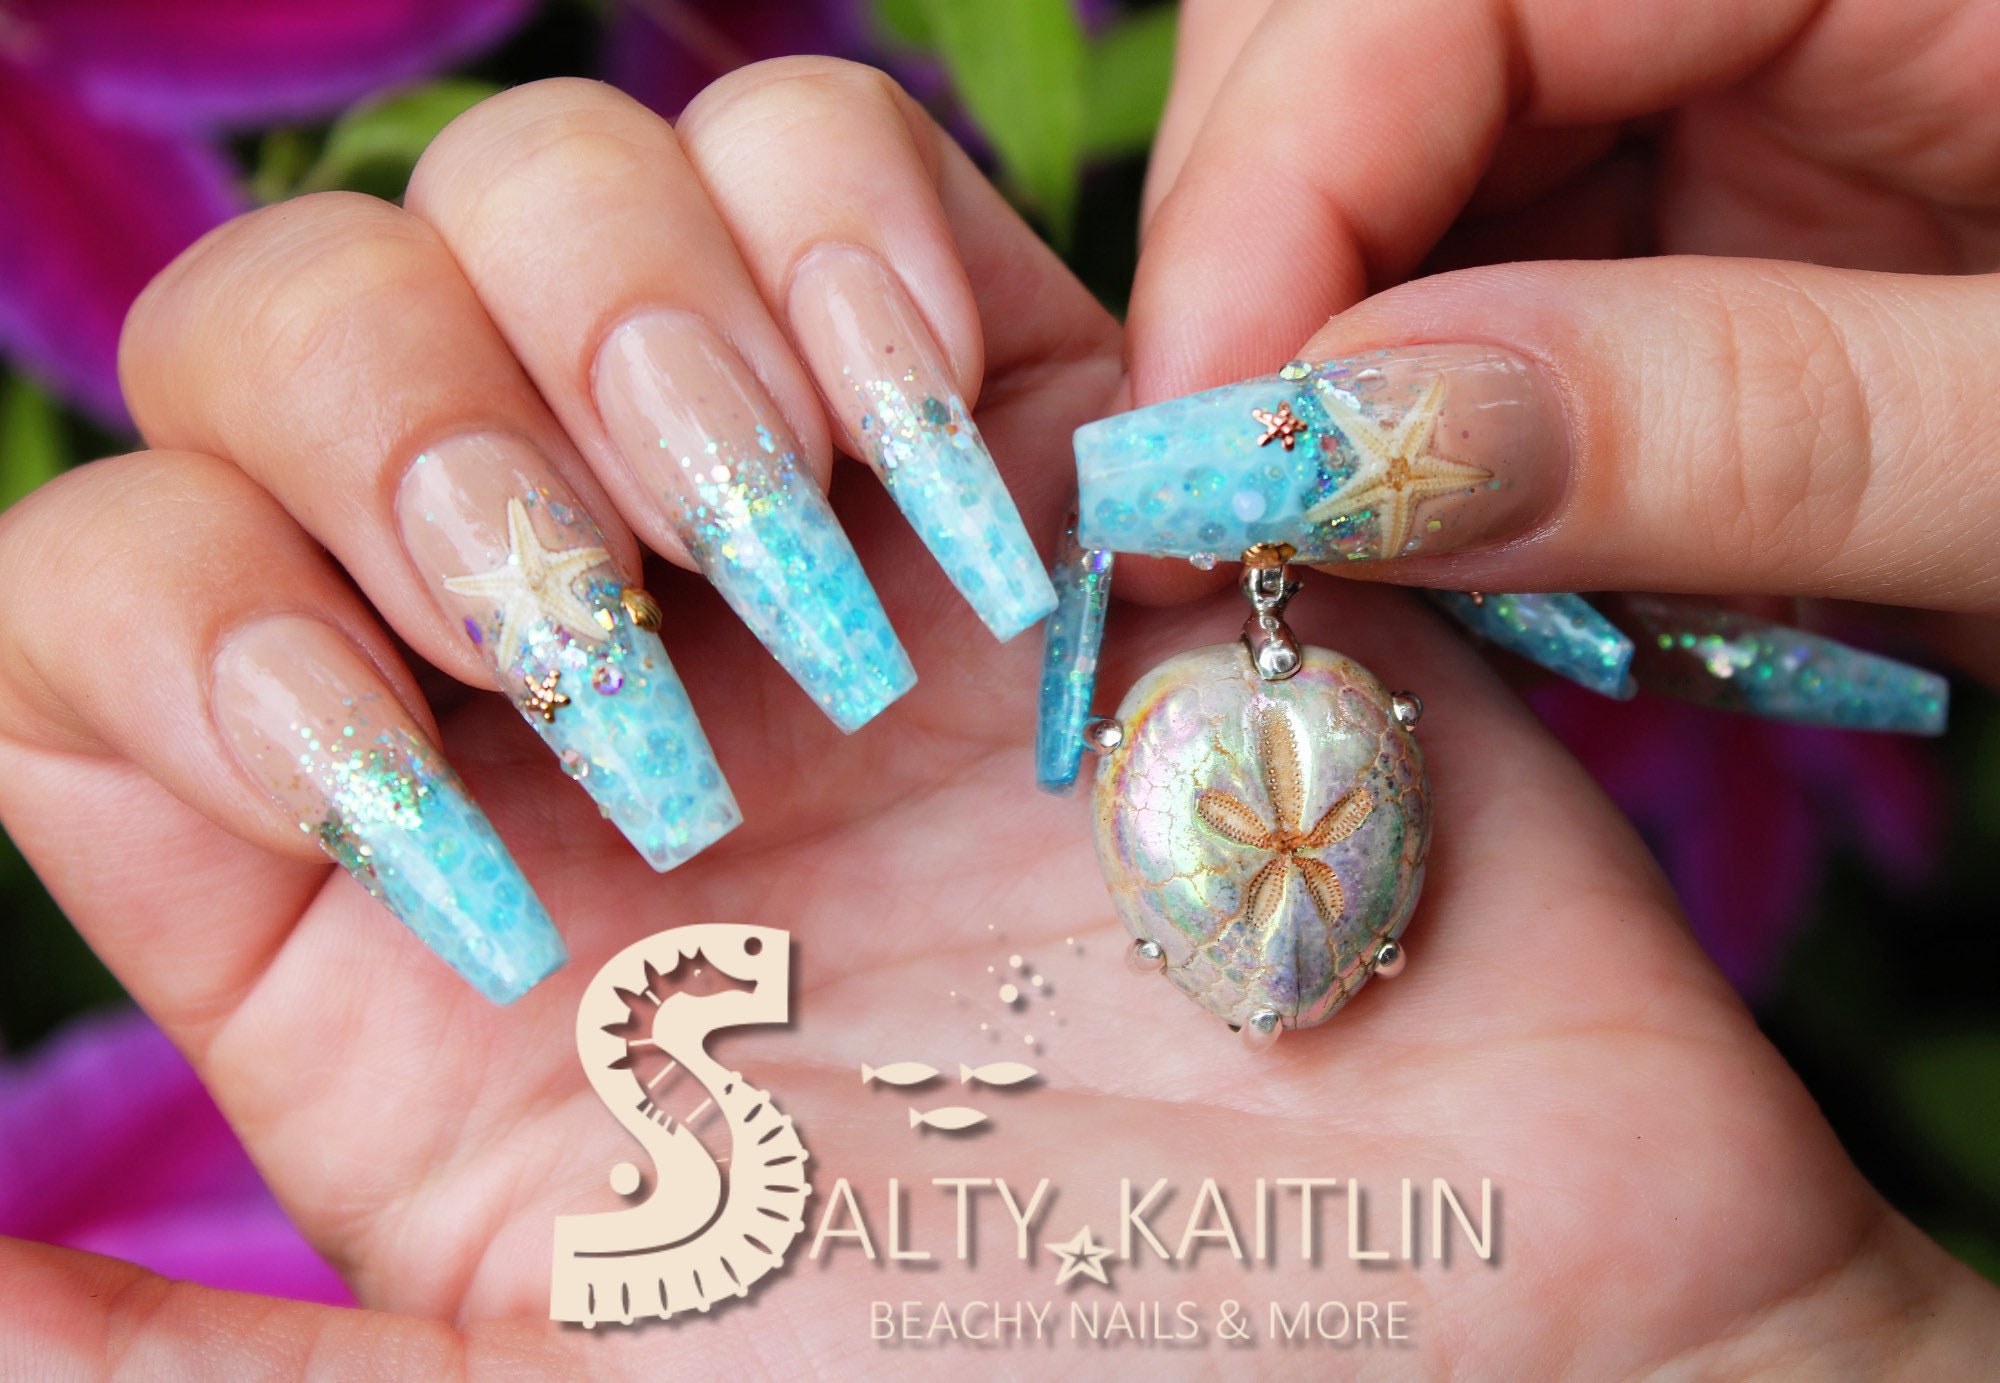
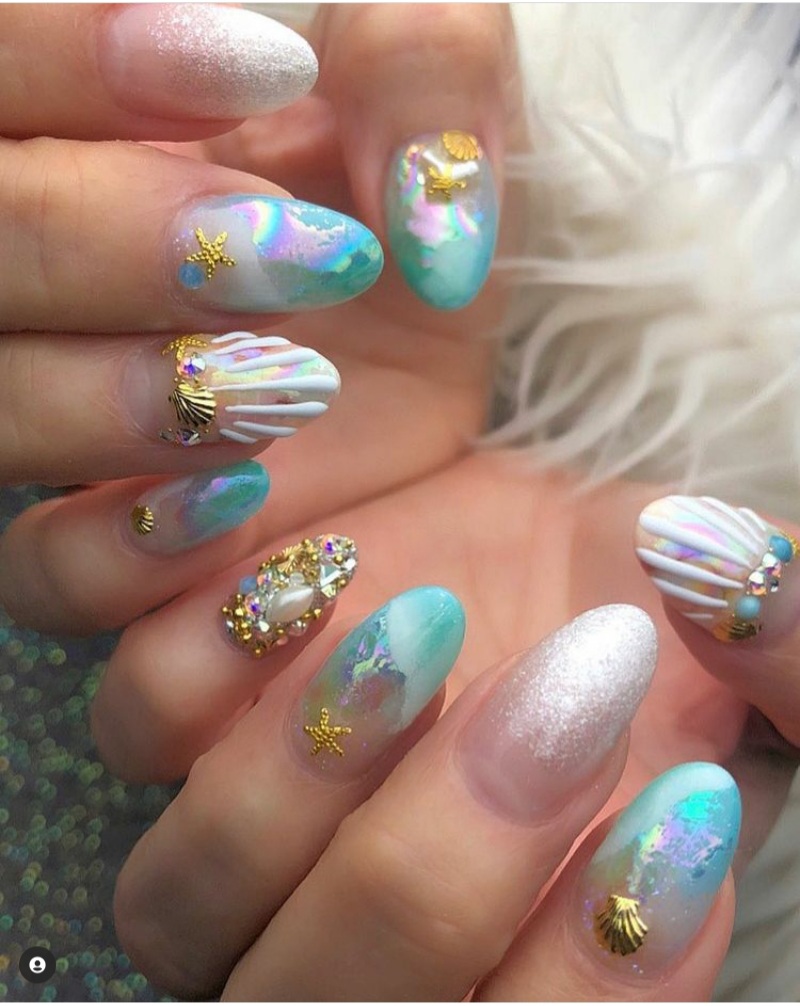
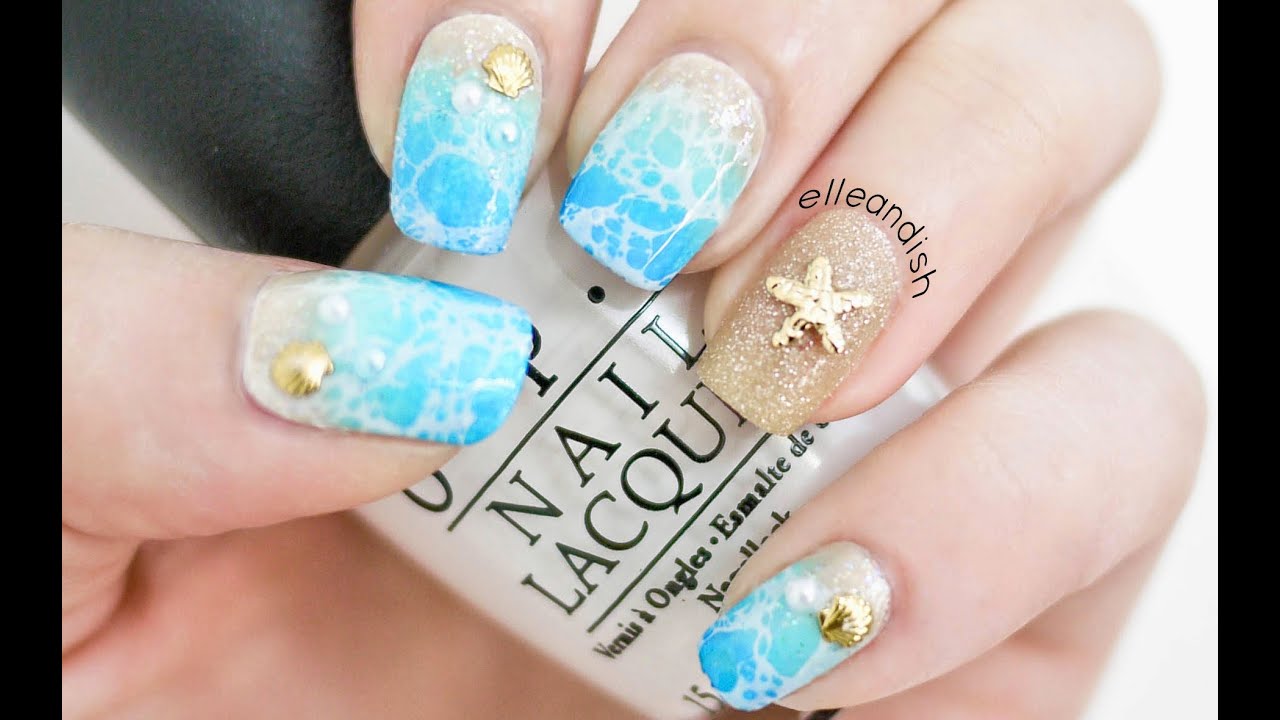
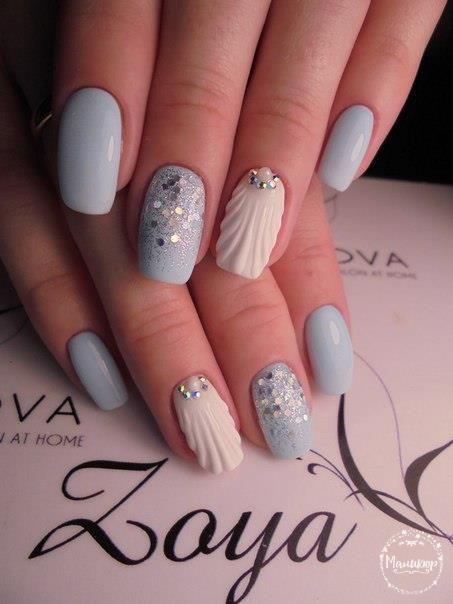
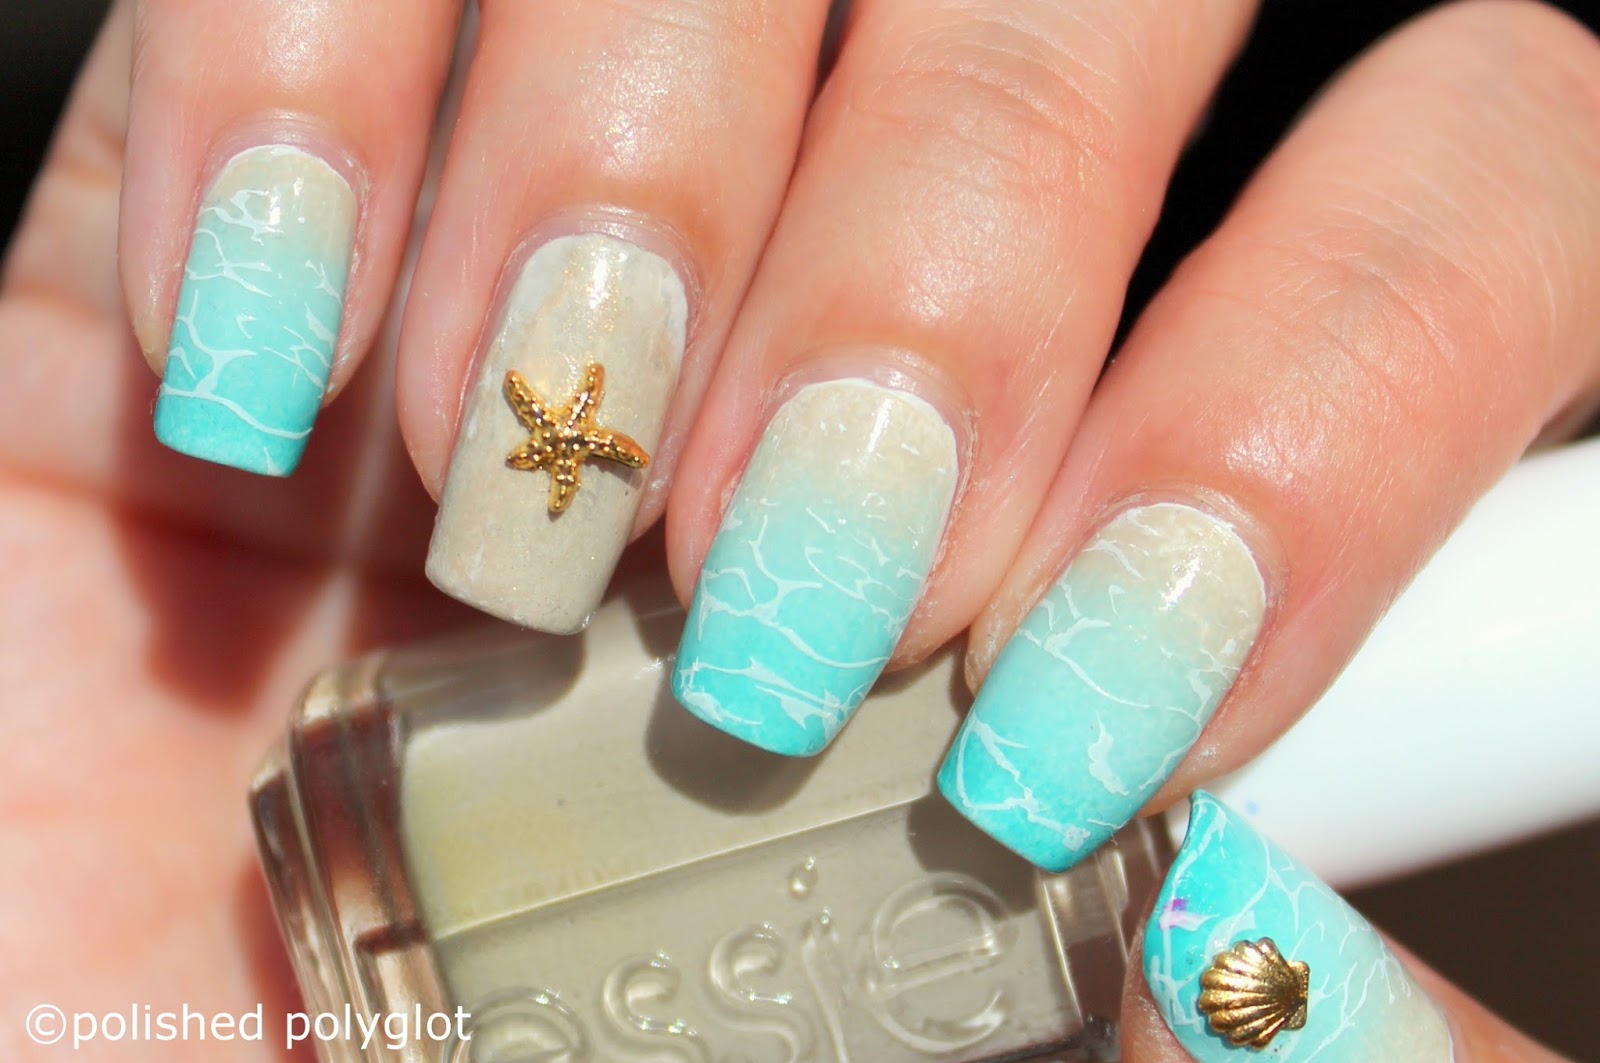
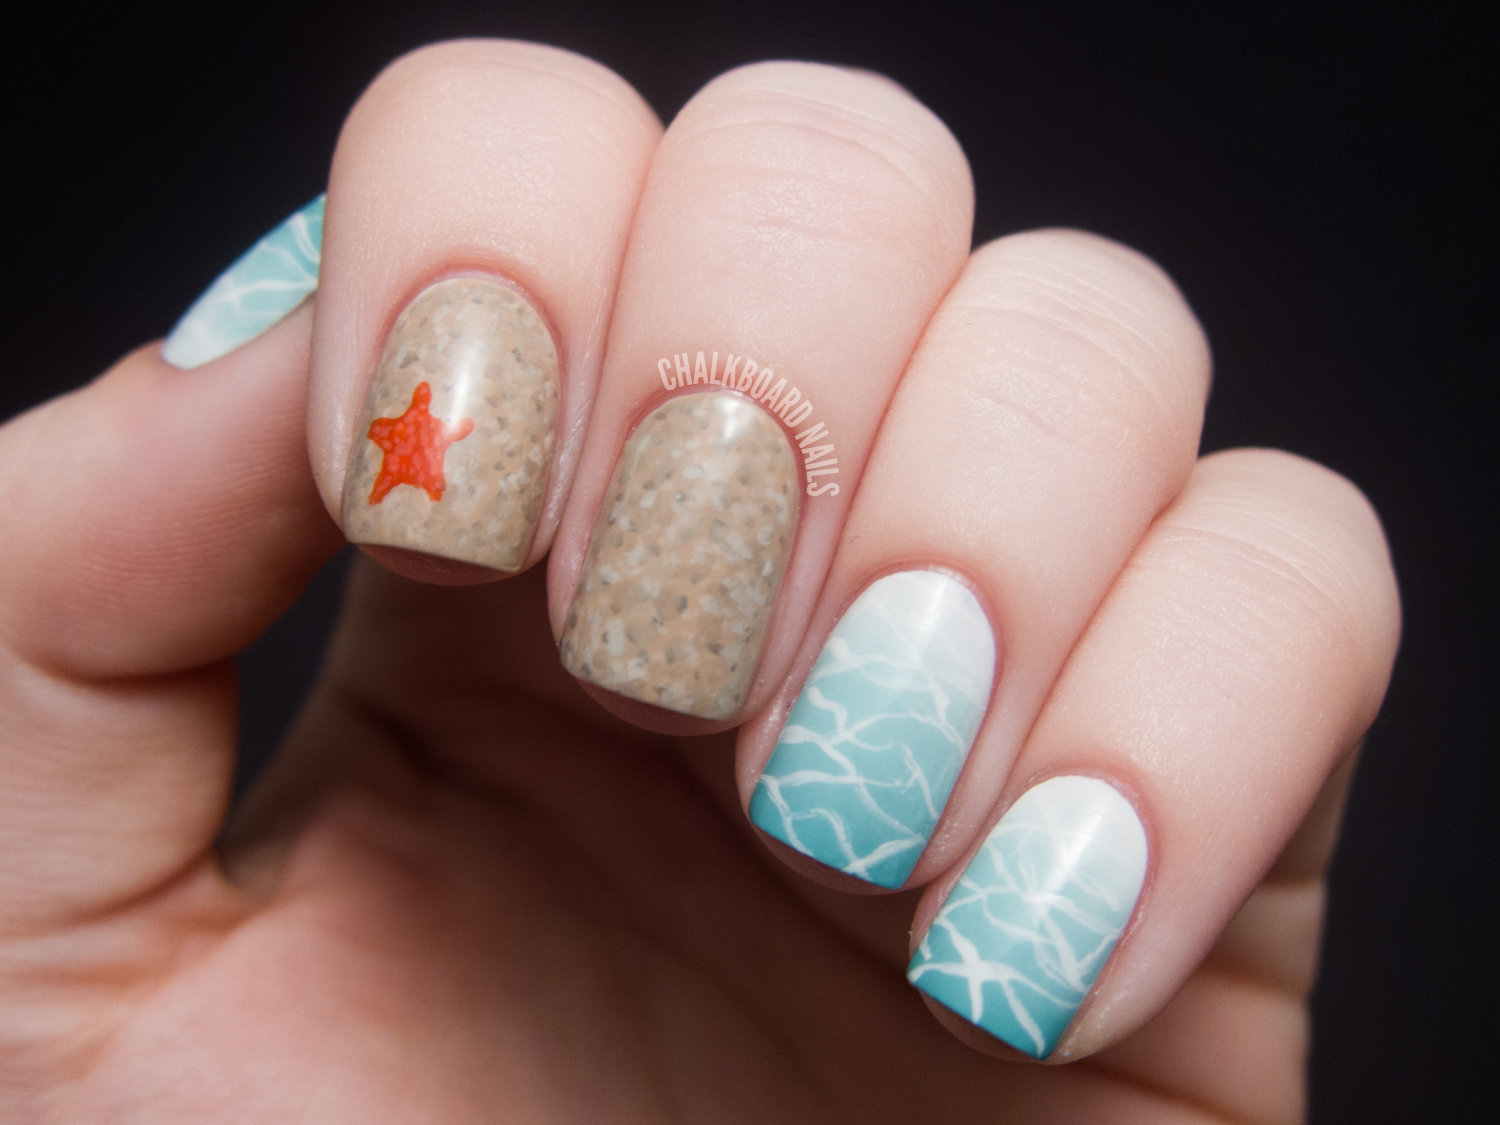
- Seashells: Paint your nails with a light blue or white base coat. Then, use a 3D nail art kit to create seashells on your nails. You can use different colors of nail polish to create different types of seashells.
- Fish: Paint your nails with a blue or green base coat. Then, use a 3D nail art kit to create fish on your nails. You can use different colors of nail polish to create different types of fish.
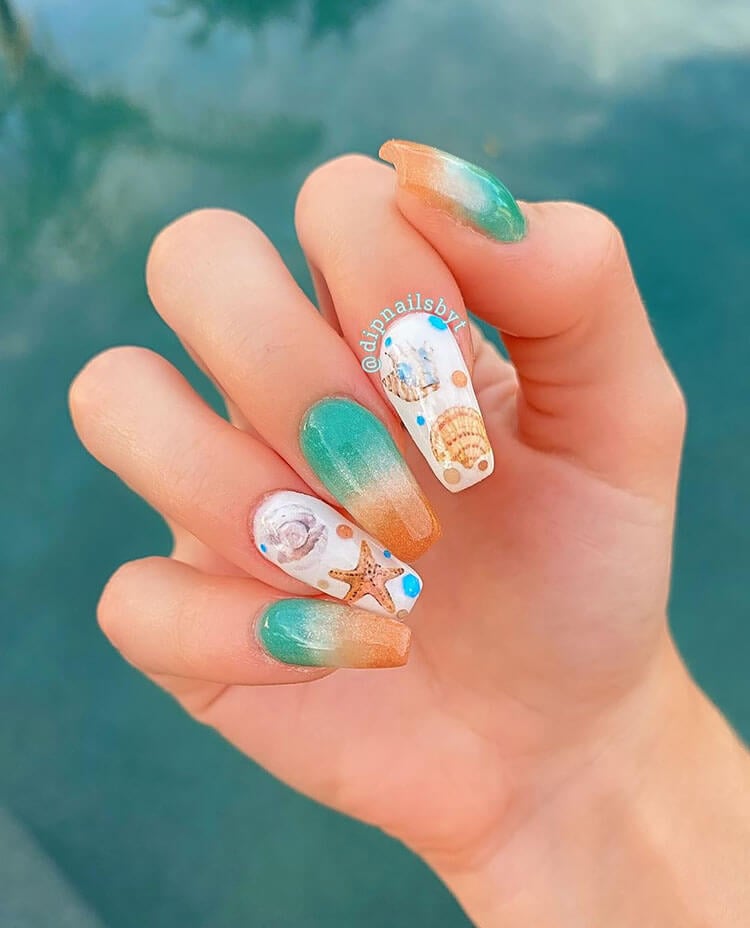
- Starfish: Paint your nails with a purple or orange base coat. Then, use a 3D nail art kit to create starfish on your nails. You can use different colors of nail polish to create different types of starfish.
- Sunsets: Paint your nails with a yellow or orange base coat. Then, use a 3D nail art kit to create a sunset on your nails. You can use different colors of nail polish to create different shades of the sky.
Tips for getting beach nails 3D
Here are a few tips for getting beach nails 3D:
- Use a thin layer of nail polish for each coat. This will help to create a smooth, even finish.
- Be careful not to apply too much pressure when using your 3D nail art kit. This could damage your nails.
- Let your nails dry completely before applying a top coat. This will help to protect your design and keep it from chipping.
Beach nails 3D are the perfect way to show your love of the beach. So get creative and express yourself with a fun and unique nail design!
Here are some additional words that are positive or poetic:
- Adorn
- Ethereal
- Fantastical
- Glimmering
- Radiant
Use these words to describe your beach nails 3D and really make them come to life!.