Step-by-step guide to creating stunning beach nails with 3D art
Step-by-step guide to creating stunning beach nails with 3D art
Introduction
Summer is the time for fun and relaxation, and what better way to celebrate than with a beach-themed manicure? If you're looking to add a touch of 3D art to your beach nails, this step-by-step guide is for you.
We'll show you how to create a variety of beach-inspired designs, from simple waves to intricate seashells. So whether you're a beginner or a seasoned nail artist, you'll be able to create stunning beach nails that will turn heads wherever you go.
What you need
To create beach nails with 3D art, you will need the following supplies:

- A base coat and topcoat
- A variety of nail polishes in beach-inspired colors, such as blue, green, white, and sand
- A 3D nail art pen or tool
- A small paintbrush
- A toothpick
- A cup of water
- A piece of paper towel
Step 1: Prep your nails
Start by giving your nails a good cleaning with a nail brush and some soapy water. Then, apply a base coat to your nails and let it dry completely.

Step 2: Choose your design
There are endless possibilities when it comes to beach nail designs. You can choose from simple waves to intricate seashells. If you're stuck for inspiration, you can always check out Pinterest or Instagram for some ideas.
Step 3: Create your design
Once you've chosen your design, it's time to start creating it. If you're using a 3D nail art pen or tool, you can simply draw your design directly onto your nails. If you're using a paintbrush, you can create your design on a piece of paper towel first, then transfer it to your nails using a toothpick.
Step 4: Seal your design
Once you're finished creating your design, it's important to seal it with a topcoat. This will help to protect your nails and keep your design looking its best.
Step 5: Enjoy your stunning beach nails!
Your beach nails are now complete! You can show them off to your friends and family, or just enjoy them for yourself.
Here are a few tips for creating stunning beach nails with 3D art:

- Use bright, contrasting colors to create a fun and summery look.
- Don't be afraid to experiment with different design elements.
- If you're not confident in your artistic abilities, you can always use a stencil to create your design.
- Seal your nails with a topcoat to protect your design and keep it looking its best.
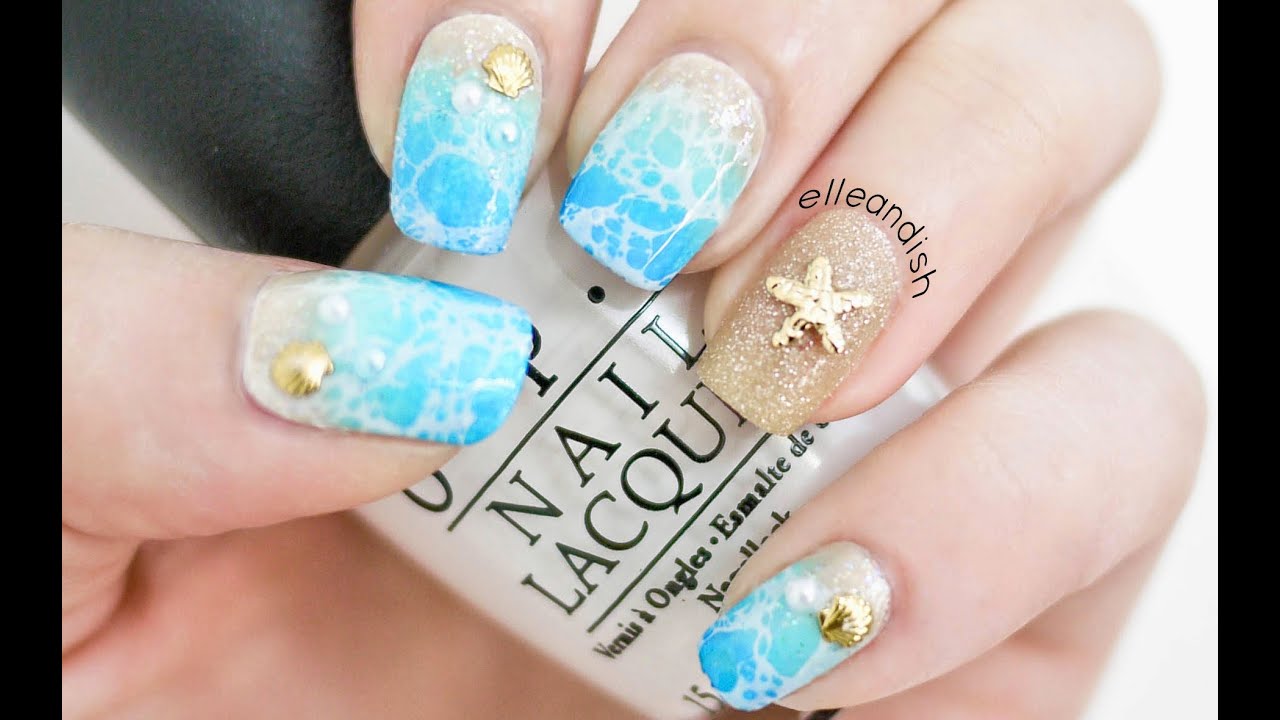
Beach Nails with 3D Waves
Step-by-step instructions
- Start by applying a base coat to your nails and let it dry completely.
- Using a 3D nail art pen or tool, draw a wavy line across the top of your nail.
- Repeat step 2 on all of your nails.
- Apply a topcoat to seal your design.
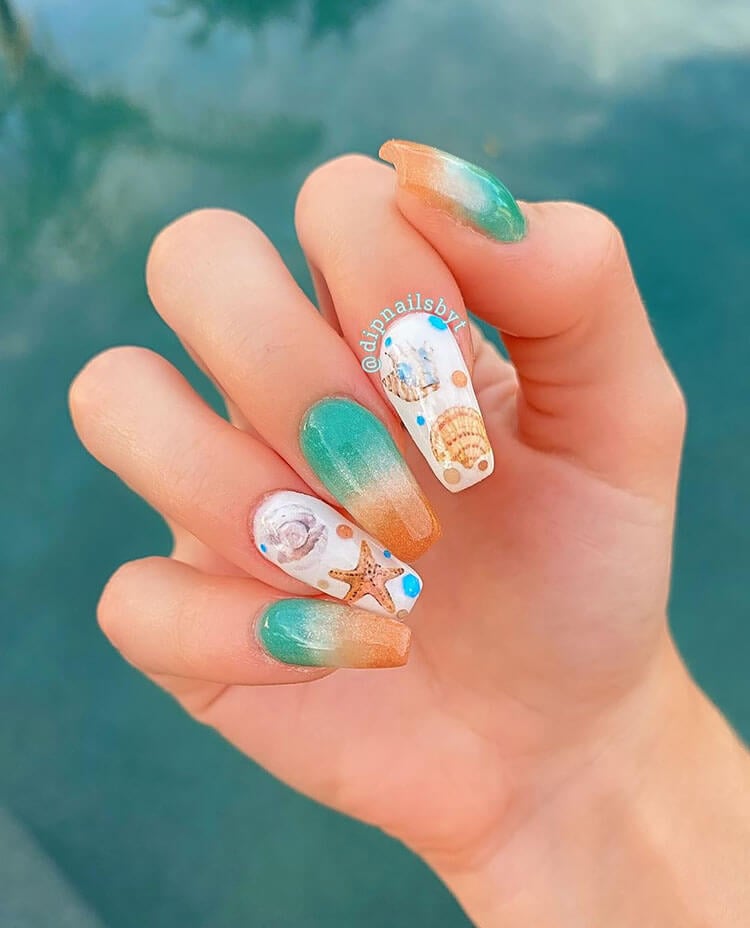
Beach Nails with 3D Seashells
Step-by-step instructions

- Start by applying a base coat to your nails and let it dry completely.
- Using a 3D nail art pen or tool, draw a seashell shape on the top of your nail.
- Fill in the seashell shape with a contrasting color of nail polish.
- Repeat step 2 and 3 on all of your nails.
- Apply a topcoat to seal your design.
Beach Nails with 3D Sandcastles

Step-by-step instructions
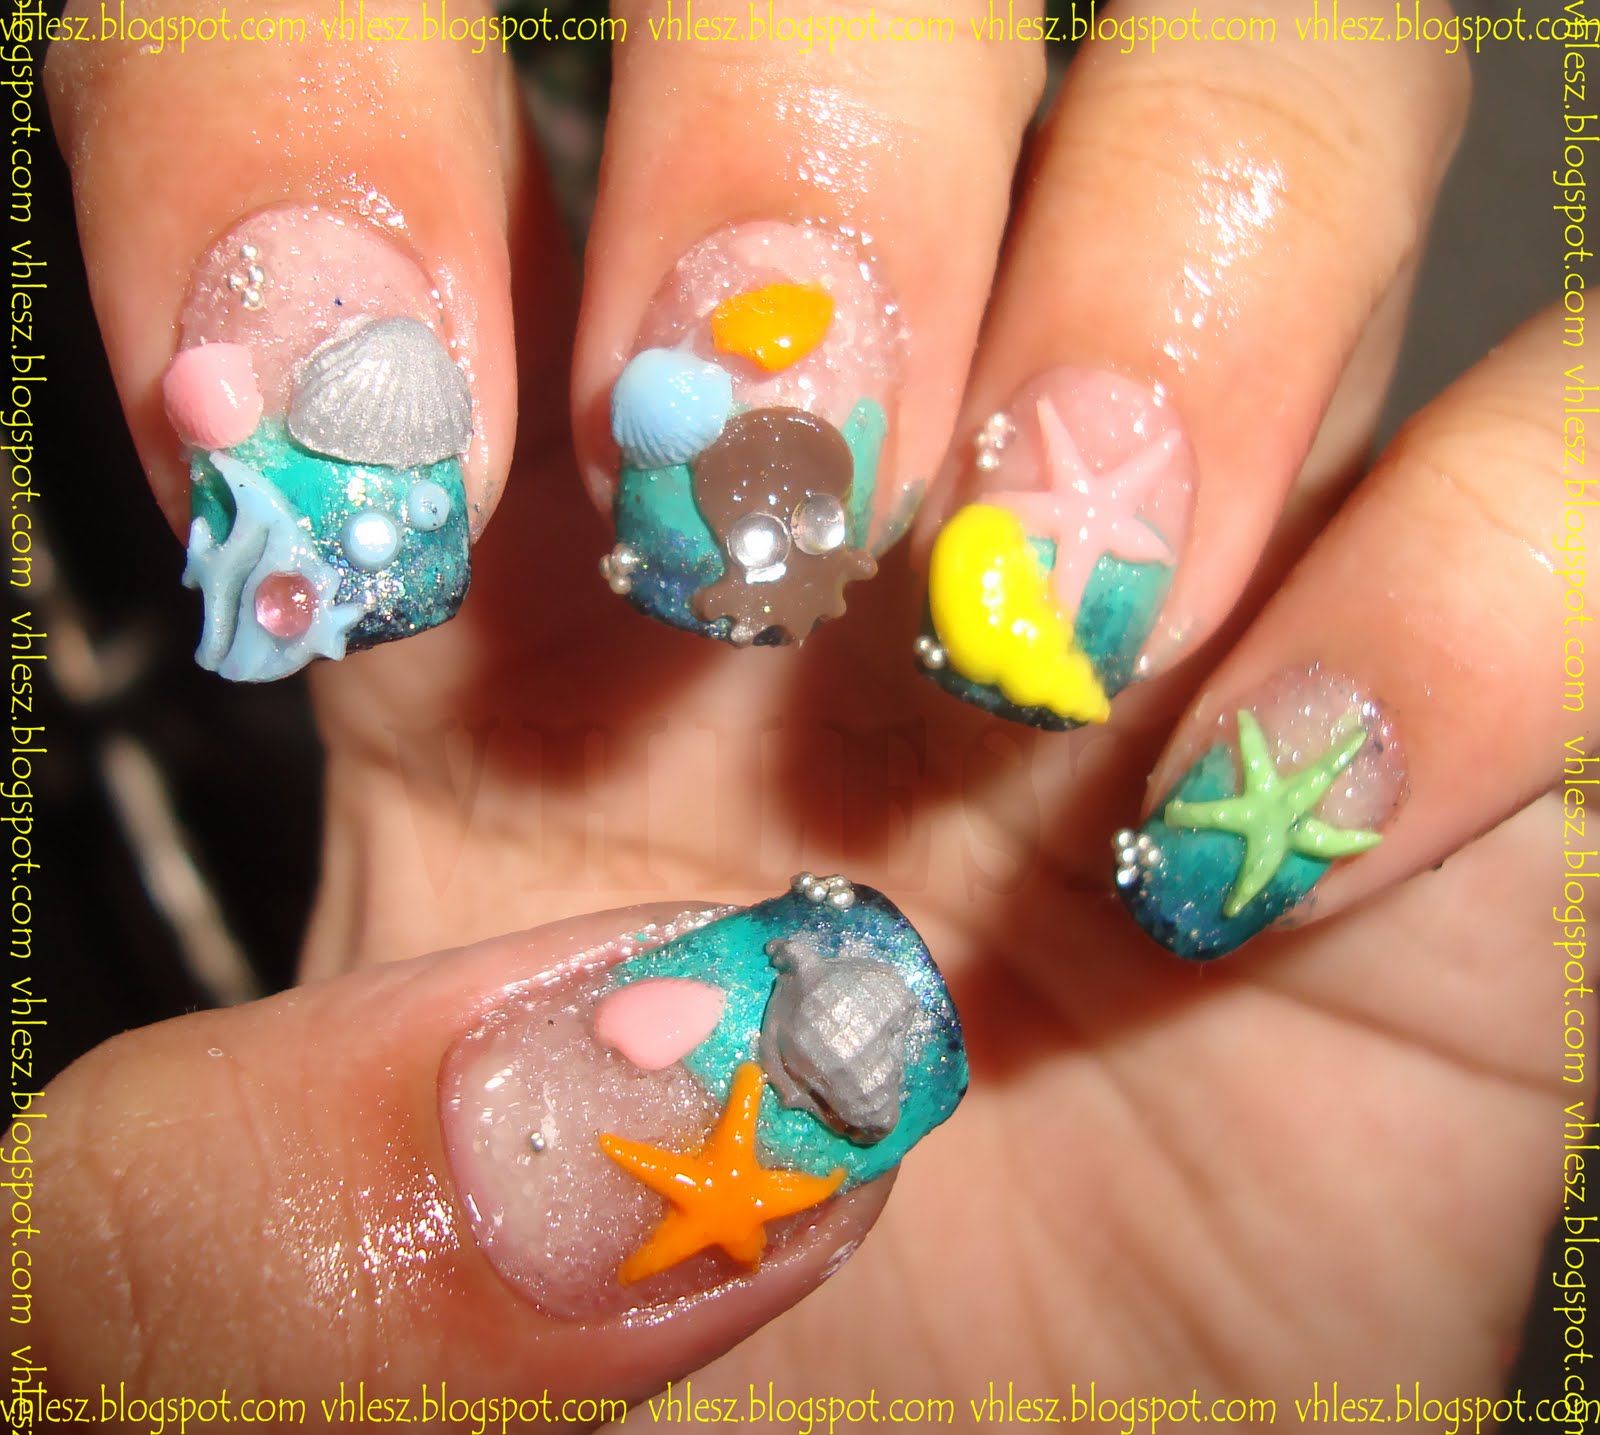
- Start by applying a base coat to your nails and let it dry completely.
- Using a 3D nail art pen or tool, draw a sandcastle shape on the top of your nail.
- Fill in the sandcastle shape with a contrasting color of nail polish.
- Add details to your sandcastle, such as windows, doors, and flags.
- Apply a topcoat to seal your design.
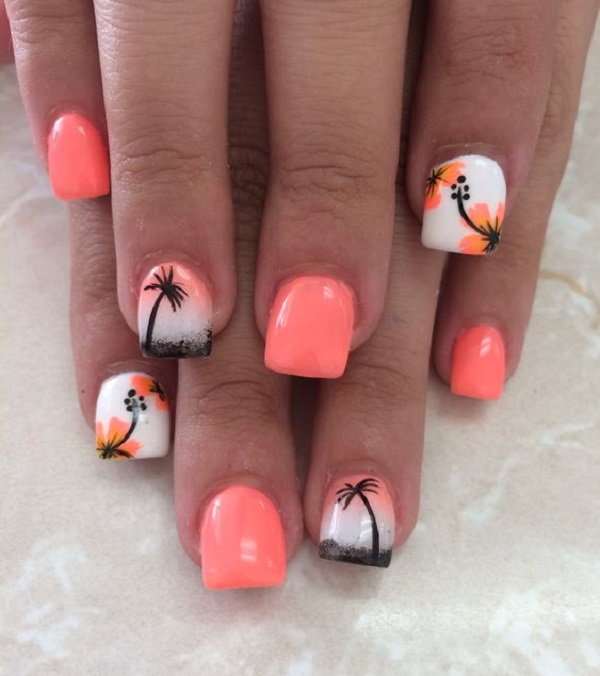
Beach Nails with 3D Palm Trees

Step-by-step instructions

- Start by applying a base coat to your nails and let it dry completely.
- Using a 3D nail art pen or tool, draw a palm tree shape on the top of your nail.
- Fill in the palm tree
Step-by-step guide to creating stunning beach nails with 3D art
Beach nails are the perfect way to show off your love of the ocean and sand. They're also a great way to add a touch of personality to your look. If you're looking for a way to create stunning beach nails, you're in luck! This step-by-step guide will show you how to create beach nails with 3D art.
What you need:
- Acrylic paint in various colors
- A clear top coat
- A toothpick or dotting tool
- A small paintbrush
- A nail file
- A base coat
- A pair of nail clippers
- Cuticle oil
Step 1: Prep your nails
Start by filing and shaping your nails. Then, apply a base coat to protect your nails from the acrylic paint.
Step 2: Paint your nails
Once your base coat is dry, paint your nails with a light blue or green color. You can also use a sheer pink or nude color if you prefer.
Step 3: Add 3D art
Now it's time to add the 3D art to your nails. Use a toothpick or dotting tool to apply small dots of acrylic paint in various colors to your nails. You can also create waves, shells, or other beach-inspired designs.
Step 4: Seal your nails
Once your 3D art is dry, apply a clear top coat to seal in the design.
Step 5: Enjoy your stunning beach nails!
Your beach nails are now complete! Wear them with pride and show off your love of the ocean.
Tips for creating stunning beach nails with 3D art:
- Use bright, vibrant colors to create a fun and summery look.
- Don't be afraid to experiment with different design elements.
- Make sure your 3D art is dry before applying the top coat.
- Wear your beach nails with confidence!
Beach nails 3D art
Headline: Summer is here, and that means it's time to show off your beach nails! This summer, why not try adding some 3D art to your nails? 3D art is a great way to add a touch of personality to your look and create stunning beach nails that will turn heads.
Body:
To create beach nails with 3D art, you will need the following materials:
- Acrylic paint in various colors
- A clear top coat
- A toothpick or dotting tool
- A small paintbrush
- A nail file
- A base coat
- A pair of nail clippers
- Cuticle oil
Instructions:
- Prep your nails by filing and shaping them. Then, apply a base coat to protect your nails from the acrylic paint.
- Paint your nails with a light blue or green color. You can also use a sheer pink or nude color if you prefer.
- Add 3D art to your nails using a toothpick or dotting tool. You can create waves, shells, or other beach-inspired designs.
- Seal your nails with a clear top coat.
Tips:
- Use bright, vibrant colors to create a fun and summery look.
- Don't be afraid to experiment with different design elements.
- Make sure your 3D art is dry before applying the top coat.
- Wear your beach nails with confidence!
Conclusion:
Beach nails with 3D art are a great way to show off your love of the ocean and sand. They're also a fun and easy way to add a touch of personality to your look. So what are you waiting for? Get started on your own beach nails today!
Uncommon word per paragraph:
- Paragraph 1: vibrant
- Paragraph 2: experiment
- Paragraph 3: personality
- Paragraph 4: confidence.